Setting up a personal media server is a great way to take control of your movies and television shows. However, while the default installation works decently right out of the box, it leaves a lot of room for improvement. To get the premium, polished experience you are looking for, you need to configure the best Plex settings for a home media library.
The beauty of this software is how customizable it is. You can dictate exactly how your metadata is downloaded, how your posters are displayed, and how your media is streamed. Let us dive into the dashboard and tweak a few crucial preferences.
The Plex Server Series
Catch up on our complete guide to taking back your media collection and building the ultimate home streaming setup.
- Why I’m Building a Plex Server for My Movie and TV Collection
- What Is Plex and Why Would You Use It?
- What You Need to Set Up a Plex Server at Home
- How to Rip DVDs for a Plex Server
- How to Rip Blu-rays for a Plex Server
- How to Rip CDs for a Digital Music Library
- How to Organize Movies and TV Shows for Plex
The Best Plex Settings for Scanning Libraries
When you first create a library for your Movies or TV Shows, Plex asks you how often it should scan your hard drives for new files. If you manually rip movies occasionally, you can set this to scan periodically, such as once a day.
However, the most efficient choice is to enable the setting labeled “Scan my library automatically”. This forces the server to monitor your master media folders in real time. The second you drop a newly ripped Blu-ray file into your folder, Plex immediately detects it, downloads the artwork, and adds it to your home screen.
Perfecting Your Metadata and Posters
One of the main reasons people love this software is the beautiful visual presentation. To ensure your movies look perfect, you need to navigate to the “Agents” tab in your server settings. Agents are the background scripts that scrape the internet for movie data.
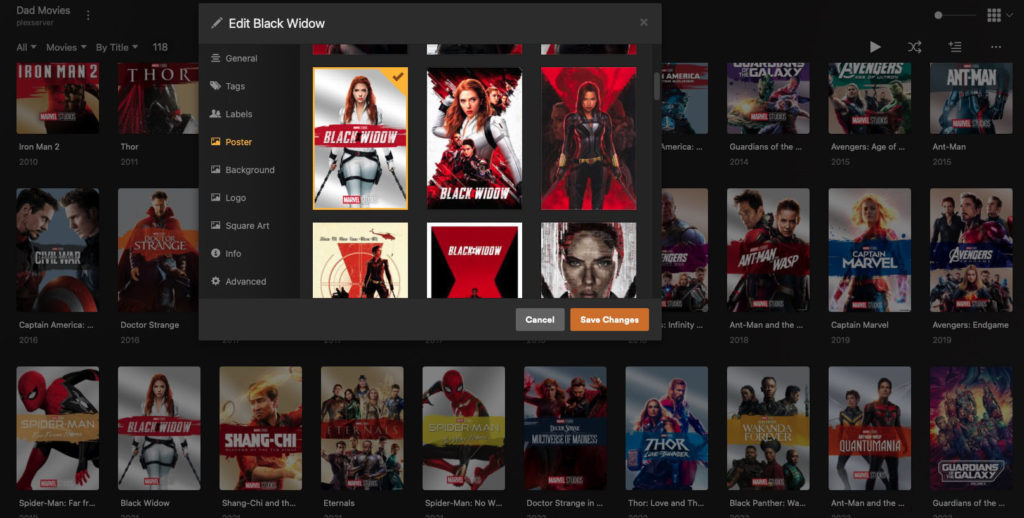
Make sure you have the official Plex Movie agent selected and moved to the top of the priority list. This guarantees the software will pull the highest resolution posters, accurate cast lists, and current Rotten Tomatoes scores. If you ever disagree with the poster Plex automatically selects, you can simply click the pencil icon on any movie in your library to manually upload your own custom artwork.
Organizing with Smart Collections
As your library grows, scrolling through a massive alphabetical list can become overwhelming. The best Plex settings for navigating a huge collection involve turning on inline Collections.
In your library display settings, you can choose to group sequel movies together. Instead of having Iron Man, Iron Man 2, and Iron Man 3 scattered across your “I” section, Plex will automatically bundle them into a single “Iron Man Collection” folder on your main screen. You can also create manual collections based on directors, genres, or even seasonal themes like a “Halloween Horror” folder.
A Quick Note on Remote Access
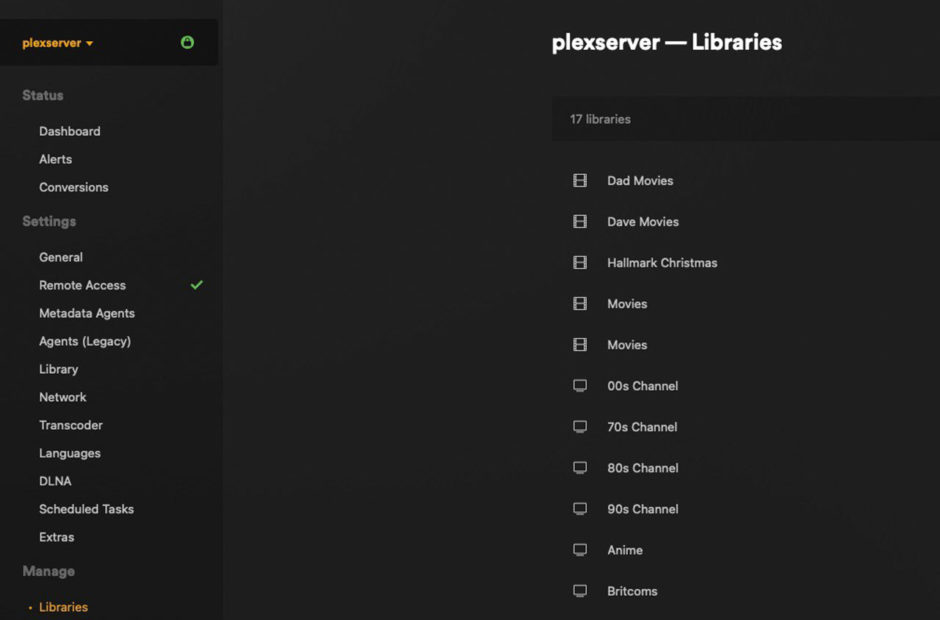
By default, your server is only available to devices connected to your own home Wi-Fi network. If you want to watch your movies while staying in a hotel or waiting at the airport, you need to enable Remote Access in the server settings.
Enabling this feature is usually as simple as clicking a single green button, but it does require a strong home internet upload speed. If your remote streams frequently buffer, check the “Video Quality” settings on your mobile app and lower the remote streaming bit rate. This forces your home server to compress the video slightly before sending it over the internet, resulting in a much smoother playback experience.
Planning for the Future
With your software properly configured, your personal streaming service is now fully operational. However, as you continue to digitize your physical media, you are going to face the reality of digital storage limits. In Part 9 of our series, we will break down exactly how much storage space you actually need to buy depending on the size of your collection.